

Why PayPal-billed subscriptions don’t always show up clearly on bank or card statements
If you’ve ever scanned a bank or credit card statement looking for subscriptions to cancel, you’ve probably noticed a line that just says “PayPal” followed by a dollar amount. Sometimes there’s a partial merchant name tacked on. Sometimes there isn’t. That’s because when a company charges you through PayPal, your bank only sees that money moved to PayPal — it doesn’t see who PayPal then paid on your behalf. The actual merchant detail lives inside PayPal’s own records, not your bank’s.
This creates a blind spot. Most people audit subscriptions by scrolling through a few months of statements and circling anything that repeats. That method works fine for charges that post directly to your card. It breaks down for anything routed through PayPal, because the statement line doesn’t tell you which app, streaming service, or membership site is actually billing you. You end up with a mystery charge that you either ignore (because it’s small) or cancel your whole PayPal account over out of frustration (which is overkill).
The fix isn’t a deeper dive into your bank statement — it’s going straight to the source. PayPal keeps a dedicated list of every merchant with permission to charge your account automatically, and it’s more complete than anything your bank can show you.
Step-by-step: finding the Automatic Payments section in PayPal’s settings
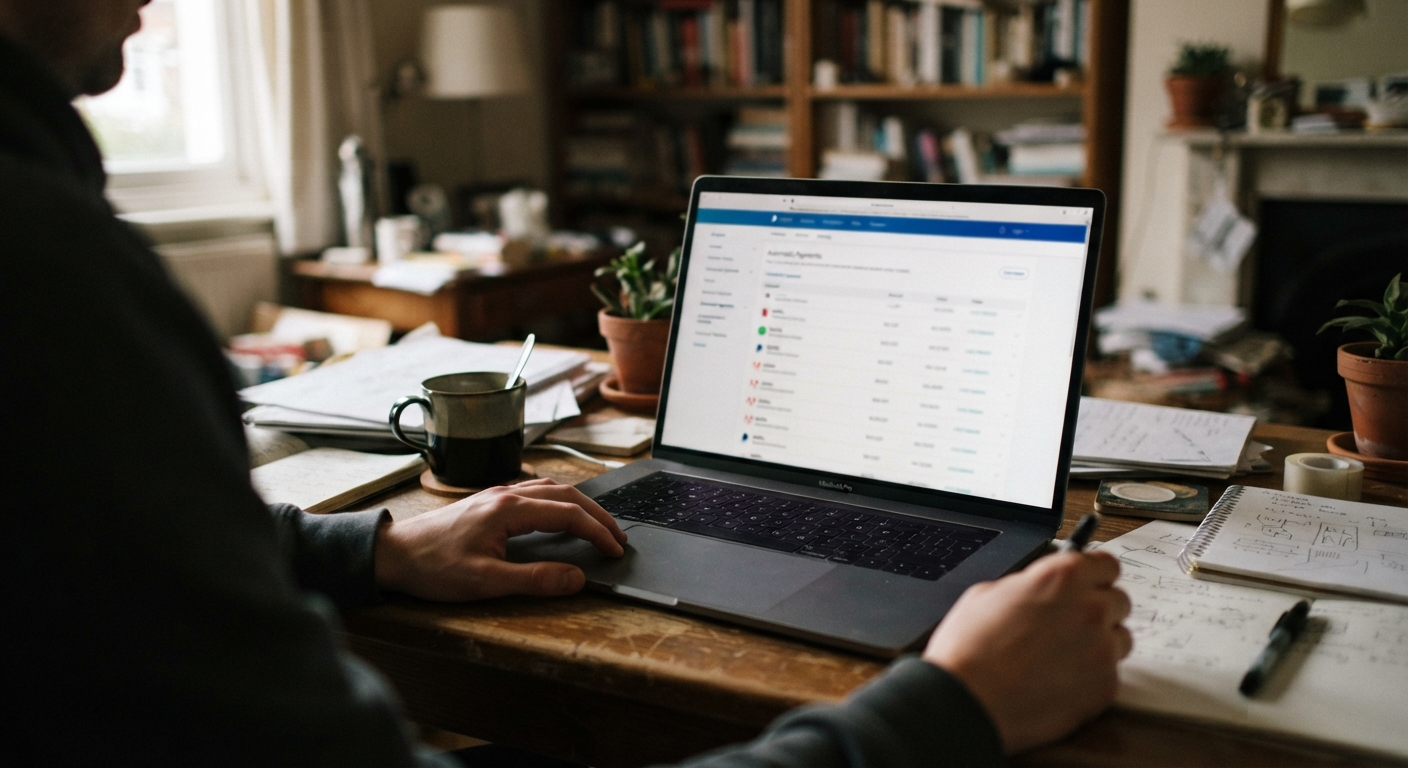
PayPal doesn’t put this list front and center on your main dashboard, which is part of why so many people don’t know it exists. Here’s how to get to it:
Log into PayPal on a desktop browser or in the mobile app. On desktop, click the gear or settings icon near the top of the page, then look for a link labeled something like “Payments” or “Automatic Payments.” On mobile, tap the menu icon, then look under your account settings for the same wording. PayPal has adjusted this label and its exact location over the years, so if you don’t see it immediately, try searching the help menu for “automatic payments” or “manage automatic payments” — the search function inside PayPal’s settings is more reliable than hunting through menus by eye.
Once you land on the right page, you’ll see a list of every merchant currently authorized to bill your PayPal account without asking you each time. This is different from your transaction history. Transaction history shows what’s already been charged. The automatic payments list shows standing permission — meaning a company could be sitting on this list with authorization to charge you even if they haven’t billed you in months. That’s worth noting, because a merchant can go quiet for a while and then resume billing later, and you’d have no warning unless you’d already revoked their access.
How to identify merchant names that look unfamiliar even though you recognize the charge amount
Once you’re looking at the list, you’ll likely find at least one or two names that don’t ring a bell. This happens for a few reasons, and it’s worth working through them calmly rather than assuming you’ve been scammed.
First, many apps and websites bill under a parent company name rather than the brand name you actually use. A fitness app you signed up for might bill through a separate billing entity with a completely different name. Second, some merchants use payment processors that display their own name instead of the merchant’s, similar to how a physical receipt sometimes shows a processing company rather than the actual store. Third, free trials are the biggest culprit — you may have signed up for something months ago, forgotten the exact name you used, and the billing entity now looks foreign to you even though the amount matches what you’d expect to pay.
Before cancelling anything you don’t recognize, do a quick cross-check: search the merchant name alongside the word “PayPal” in a search engine, and check if the charge amount matches something you remember signing up for. If you use budgeting software or an app that tracks recurring charges, compare the amount there too. Most of the time, the mystery resolves itself once you match the amount to a service you forgot you still had. If nothing matches after a reasonable check, that’s a signal to cancel the authorization and watch your account for a few weeks to see if anything changes.
Cancelling directly through PayPal versus contacting the merchant, and why it matters
From the automatic payments list, you can cancel a merchant’s billing authorization with a few clicks — usually by selecting the merchant and choosing “cancel” or “cancel automatic billing.” This is fast and it works entirely on PayPal’s end, which is appealing if you don’t want to deal with a merchant’s cancellation process, hold music, or “are you sure you want to leave” retention screens.
But it’s worth understanding what this button actually does: it revokes the merchant’s permission to pull money from your PayPal account. It does not notify the merchant that you want to cancel your subscription, membership, or service. In PayPal’s eyes, you’ve just closed off a payment method. In the merchant’s eyes, you’re still a subscriber — until they try to bill you and can’t.
For a lot of subscriptions, that’s a distinction without a difference. If the merchant can’t get paid, the service typically lapses on its own. But for subscriptions with terms that require you to formally cancel — think memberships, some software licenses, or services with a stated notice period — cutting off payment through PayPal doesn’t fulfill that requirement. You may still owe something, or the account may stay “active but unpaid” in a way that eventually causes a problem, like a collections notice or a service that keeps trying to bill you every time you update your payment info.
The safer approach for anything more formal than a low-stakes app subscription: cancel through PayPal to immediately stop the money from moving, and also contact the merchant directly to close the account itself. It takes an extra few minutes, but it closes the loop on both ends instead of just one.
What happens to a subscription if you cancel in PayPal but the merchant still expects payment
When you revoke a merchant’s automatic payment permission and they attempt to charge you anyway, one of a few things usually happens. PayPal may simply decline the charge and notify the merchant that authorization has been withdrawn. Some merchants take this as a cancellation signal and stop the service. Others treat it as a failed payment and will email you, asking you to update your billing information — sometimes repeatedly, sometimes with increasingly urgent subject lines designed to get you to re-authorize.
This is where things can get messy if you’re not paying attention. If you respond to one of those “update your payment method” emails without realizing it’s for a subscription you deliberately cancelled, you may end up re-authorizing the very charge you were trying to stop. It’s a good idea to keep a short note — even just in your phone or a notes app — of which merchants you’ve cancelled through PayPal and roughly when, so a future email doesn’t catch you off guard.
If a service continues past the point where you’ve cancelled both the payment authorization and contacted the merchant, that’s worth following up on directly with the company’s customer service rather than assuming PayPal will sort it out. PayPal’s role here is limited to the payment mechanism — it isn’t a substitute for the merchant’s own cancellation confirmation.
How to set a recurring calendar reminder to re-check this dashboard every few months
The automatic payments list isn’t something most people think to check unless they’re already suspicious of a charge, which means new authorizations can quietly pile up between audits. A free trial here, a one-click checkout there, and a year later the list has grown without you noticing.
The simplest fix is treating this like any other recurring household task: put it on a calendar. A reminder every three months is usually often enough to catch new subscriptions before they’ve cost you much, without being so frequent that it becomes a chore you start ignoring. If quarterly feels like too much, tie it to something you already do regularly — reviewing your budget at the start of each season, for instance, or whenever you do a broader pass through your bank and card statements.
When the reminder comes up, the check itself only takes a few minutes: open the automatic payments list, scan for anything new or unfamiliar, and cross-check it the way described above. Over time, this becomes less about hunting down surprises and more about routine maintenance — the same way you’d glance at a utility bill each month even when you’re not expecting it to have changed.
