

Why some services choose carrier billing instead of card billing
Most subscriptions ask for a credit card because that’s what people expect. But a smaller, persistent slice of the subscription economy runs through a different pipe entirely: your phone bill. It’s called carrier billing, or sometimes direct carrier billing, and it lets a company charge you a monthly fee that shows up as a line item on your wireless statement instead of a bank or credit card statement.
There are legitimate reasons a company might prefer this. Carrier billing works on phones that don’t have a card on file, it can process faster in some checkout flows, and it’s genuinely convenient for things like ringtone services, horoscope apps, or streaming add-ons bundled by the carrier itself. Some of it is aboveboard and useful.
But carrier billing also appeals to companies for a less flattering reason: it’s easy to miss. Card charges get flagged by banking apps, fraud alerts, and the muscle memory most people have built from checking their statements. Phone bills don’t get that same scrutiny. Many people glance at the total due, confirm it’s roughly what they expect, and pay it without reading every line. A three-or-seven-dollar “premium service” charge can ride along for months, sometimes years, without anyone noticing.
This isn’t necessarily a story about scams, though scams do exist in this space. It’s mostly a story about a billing channel that quietly bypasses the habits people rely on to catch unwanted charges. If you’ve never specifically looked at your phone bill for third-party charges, there’s a decent chance you haven’t looked at all.
How to locate ‘premium SMS’ or third-party charges on a phone bill
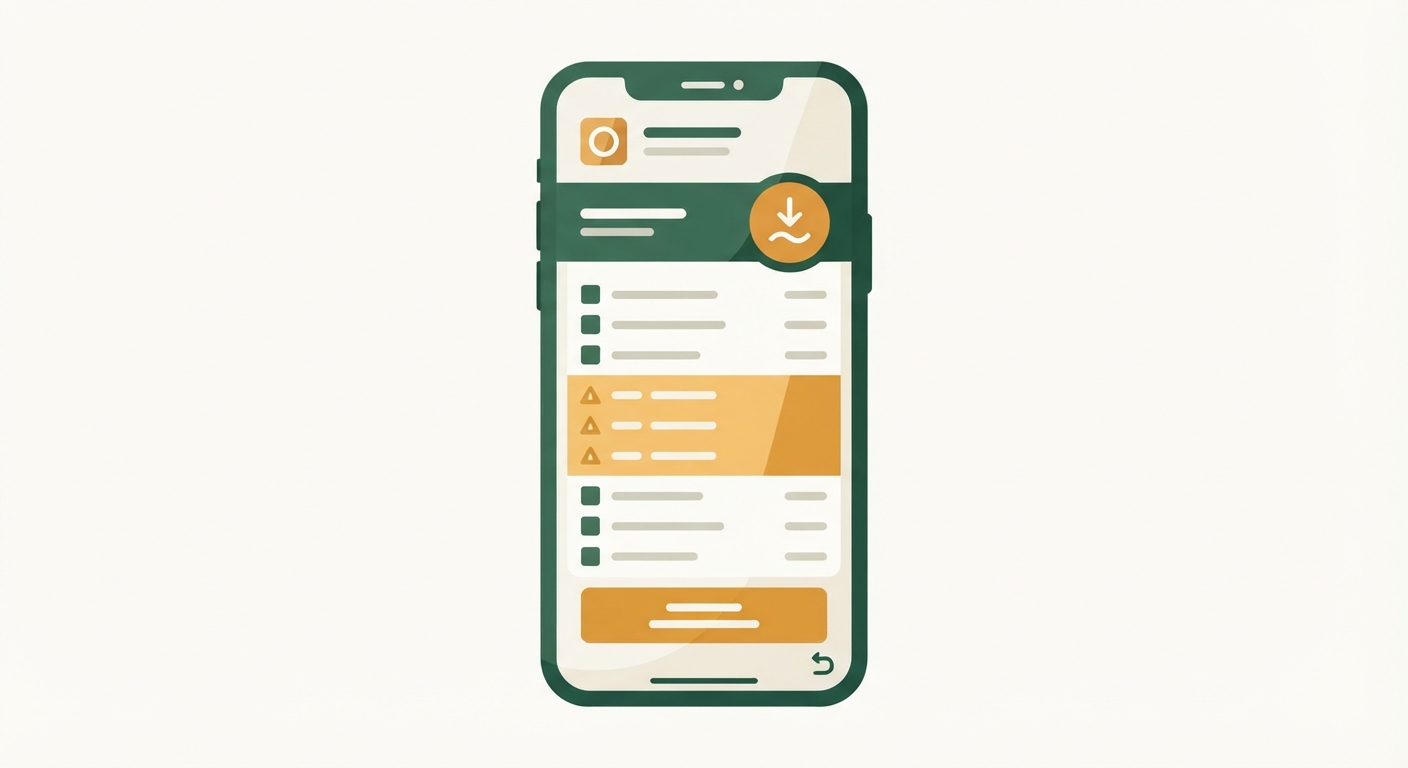
The charges you’re looking for usually hide under a few predictable labels. Depending on your carrier, look for sections called “premium SMS,” “third-party charges,” “content services,” “member services,” or simply “other charges.” These are almost always separated from your actual plan cost, data, and taxes, because carriers are required to itemize them distinctly.
Here’s a practical way to check:
Pull up your most recent bill in full, not just the summary page your carrier’s app shows by default. The app’s home screen usually just shows a total. You want the detailed PDF or itemized online statement, which typically has several more pages than people expect.
Scroll past the sections for your plan, devices, and taxes. Third-party charges are almost always grouped in their own section near the bottom, sometimes labeled with the name of the billing aggregator (a company that processes the charge on behalf of the actual service) rather than the service itself. This is one reason these charges are hard to recognize — the name on your bill might be a payment processor you’ve never heard of, not the app or website you actually signed up with.
Do this for the last three to six months of statements, not just the current one. Carrier billing charges are often small and recurring, so a single month can look unremarkable while six months in a row tells a clearer story.
If you have multiple lines on a family or shared plan, check each line separately. Charges tied to one phone number won’t necessarily show up under another, and it’s common for these subscriptions to have been started on a kid’s phone, an old device, or a line you don’t personally use day to day.
What the charges typically look like
Common patterns include small flat monthly fees, charges labeled with vague service names like “info service” or “content club,” and charges tied to a short code (a five- or six-digit number instead of a phone number) that texted a confirmation at some point. If the amount is oddly specific, like a few dollars and change, that’s often a signal it’s a metered or tiered content charge rather than a standard plan fee.
The difference between carrier billing and standard app store billing
It’s worth separating carrier billing from app store billing, because people often lump them together and end up looking in the wrong place.
App store billing runs through your phone’s operating system account, meaning purchases and subscriptions made through an app store are billed to whatever payment method is on file there, typically a credit or debit card, and they show up in that account’s purchase history, not on your phone bill. If you want to audit those, you’d check your app store’s subscription settings directly, not your carrier statement.
Carrier billing is different. It’s initiated outside the app store ecosystem entirely, often through a website, a text message opt-in, or a mobile ad that lets you “confirm” a sign-up with your phone number instead of a card number. The charge then gets added directly to your wireless bill by your carrier, acting as a middleman collecting payment on behalf of the service.
The practical upshot: if you’ve only ever reviewed your app store subscriptions, you may have done half the audit. A full subscription review means checking three separate places: your bank and card statements, your app store account, and your phone bill.
Steps to block future carrier billing charges on your account
Most major carriers offer a way to turn off third-party or premium billing altogether, which prevents any new charges of this type from being added to your account in the future. This is usually a single setting rather than something you need to manage charge by charge.
To find it, look in your carrier’s account settings for a term like “purchase controls,” “premium messaging block,” or “content blocking.” It’s sometimes bundled with parental controls, even if you don’t have kids on the plan, because the same setting controls things like content charges initiated by text message.
If you can’t find the setting online, calling your carrier’s customer service line and asking specifically to “block premium SMS and third-party billing” is a reliable way to get it done. Be specific about that phrase, since generic requests like “stop unwanted charges” can get routed to the wrong department or resolved as a one-time refund rather than a standing block.
Once the block is in place, ask the representative to confirm it in writing, either through a chat transcript, email confirmation, or account note you can reference later. This matters because if a new charge does slip through after the block is set, you’ll want a clear record that you took proactive steps, which can make disputing that charge more straightforward.
Keep in mind that blocking third-party billing doesn’t cancel a subscription you’re currently paying for. It only prevents new charges from being added going forward. You’ll still need to cancel any active service directly.
What to do if you find a charge you never authorized
If you spot a charge on your phone bill you don’t recognize or didn’t knowingly sign up for, start by identifying who’s actually billing you. Look at the exact name and any reference number listed next to the charge, since that’s what you’ll need to look up the service or contact the billing aggregator.
From there, take these steps in order:
Contact your carrier first, not the third-party company. Carriers generally have a dispute or refund process specifically for premium and third-party charges, and because they’re the ones who collected the money on the service’s behalf, they’re often able to reverse it directly rather than sending you elsewhere.
Ask for the charge to be reversed and for the third-party billing block to be applied at the same time, so you’re closing the door on that channel while you resolve the specific charge.
Request a summary of how many months the charge has been present. Since these charges are easy to overlook, they can accumulate over a longer stretch than you’d assume, and knowing the full scope helps you understand what you’re asking to have refunded.
Keep a simple record of the date you called, who you spoke with, and what was promised. If the charge reappears or the refund doesn’t process as expected, having that timeline makes the follow-up call much faster.
Finally, once the immediate charge is handled, treat it as a prompt to check the rest of your recurring bills the same way: pull the full itemized statement, not just the summary, and actually read it. A phone bill is one of the easiest places for a small charge to hide in plain sight, and now that you know where to look, it’s a quick thing to check every few months going forward.
